|
|
1 year ago | |
|---|---|---|
| assets | 1 year ago | |
| img | 1 year ago | |
| teleop | 1 year ago | |
| .gitignore | 1 year ago | |
| LICENSE | 1 year ago | |
| README.md | 1 year ago | |
| README_zh-CN.md | 1 year ago | |
| requirements.txt | 2 years ago | |
README.md
📺 Video Demo
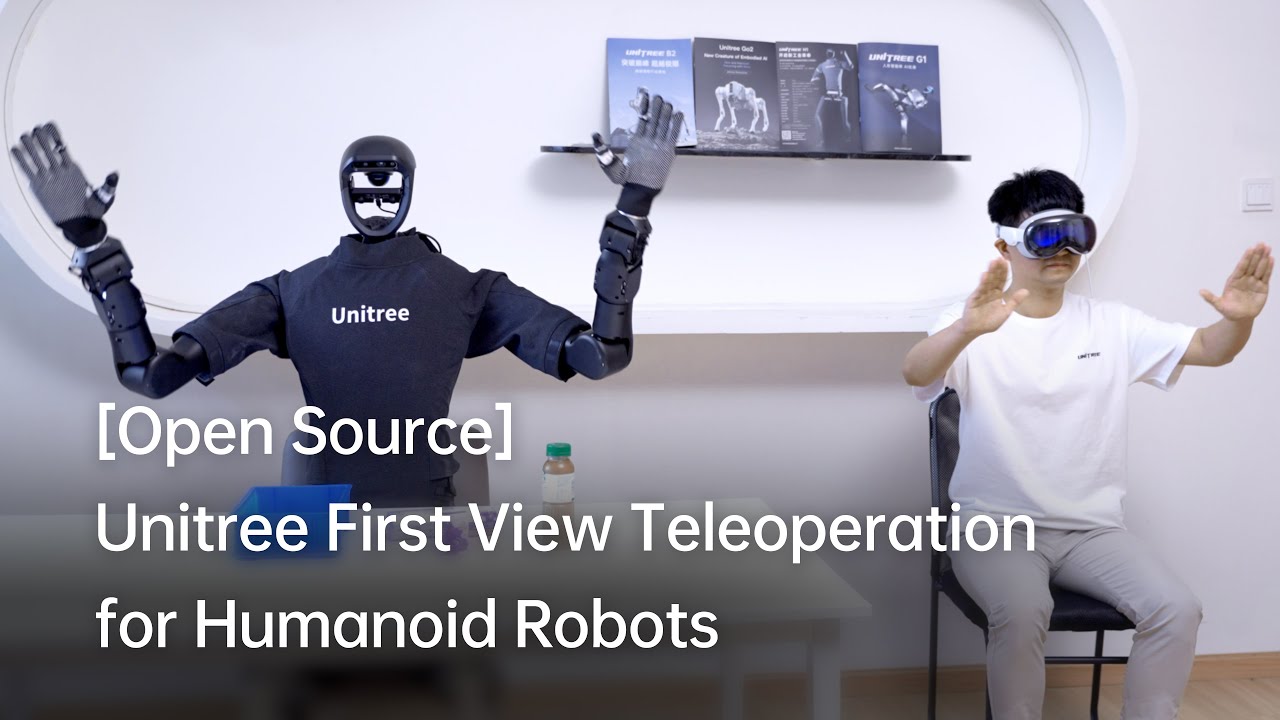
0. 📖 Introduction
This repository implements teleoperation of the Unitree humanoid robot using Apple Vision Pro.
Here are the robots that will be supported,
| 🤖 Robot | ⚪ Status |
|---|---|
| G1 (29DoF) + Dex3-1 | ✅ Completed |
| G1 (23DoF) | ⏱ In Progress |
| H1 (Arm 4DoF) | ⏱ In Progress |
| H1_2 (Arm 7DoF) + Inspire | ⏱ In Progress |
| ··· | ··· |
1. 📦 Prerequisites
We tested our code on Ubuntu 20.04 and Ubuntu 22.04, other operating systems may be configured differently.
For more information, you can refer to Official Documentation and OpenTeleVision.
1.1 🦾 inverse kinematics
unitree@Host:~$ conda create -n tv python=3.8
unitree@Host:~$ conda activate tv
# If you use `pip install`, Make sure pinocchio version is 3.1.0
(tv) unitree@Host:~$ conda install pinocchio -c conda-forge
(tv) unitree@Host:~$ pip install meshcat
(tv) unitree@Host:~$ pip install casadi
p.s. All identifiers in front of the command are meant for prompting: Which device and directory the command should be executed on.
In the Ubuntu system's ~/.bashrc file, the default configuration is: PS1='${debian_chroot:+($debian_chroot)}\u@\h:\w\$ '
Taking the command
(tv) unitree@Host:~$ pip install meshcatas an example:
(tv)Indicates the shell is in the conda environment namedtv.unitree@Host:~Shows the user\uunitreeis logged into the device\hHost, with the current working directory\was$HOME.$shows the current shell is Bash (for non-root users).pip install meshcatis the commandunitreewants to execute onHost.You can refer to Harley Hahn's Guide to Unix and Linux and the Conda User Guide to learn more.
1.2 🕹️ unitree_sdk2_python
# Install unitree_sdk2_python.
(tv) unitree@Host:~$ git clone https://github.com/unitreerobotics/unitree_sdk2_python.git
(tv) unitree@Host:~$ cd unitree_sdk2_python
(tv) unitree@Host:~$ pip install -e .
2. 🛠️ TeleVision and Apple Vision Pro configuration
2.1 📥 basic
(tv) unitree@Host:~$ cd ~
(tv) unitree@Host:~$ git clone https://github.com/unitreerobotics/avp_teleoperate.git
(tv) unitree@Host:~$ cd ~/avp_teleoperate
(tv) unitree@Host:~$ pip install -r requirements.txt
2.2 🔌 Local streaming
Apple does not allow WebXR on non-https connections. To test the application locally, we need to create a self-signed certificate and install it on the client. You need a ubuntu machine and a router. Connect the Apple Vision Pro and the ubuntu Host machine to the same router.
- install mkcert: https://github.com/FiloSottile/mkcert
- check Host machine local ip address:
(tv) unitree@Host:~/avp_teleoperate$ ifconfig | grep inet
Suppose the local ip address of the Host machine is 192.168.123.2
p.s. You can use
ifconfigcommand to check your Host machine ip address.
- create certificate:
(tv) unitree@Host:~/avp_teleoperate$ mkcert -install && mkcert -cert-file cert.pem -key-file key.pem 192.168.123.2 localhost 127.0.0.1
place the generated cert.pem and key.pem files in teleop
(tv) unitree@Host:~/avp_teleoperate$ cp cert.pem key.pem ~/avp_teleoperate/teleop/
- open firewall on server:
(tv) unitree@Host:~/avp_teleoperate$ sudo ufw allow 8012
- install ca-certificates on Apple Vision Pro:
(tv) unitree@Host:~/avp_teleoperate$ mkcert -CAROOT
Copy the rootCA.pem via AirDrop to Apple Vision Pro and install it.
Settings > General > About > Certificate Trust Settings. Under "Enable full trust for root certificates", turn on trust for the certificate.
Settings > Apps > Safari > Advanced > Feature Flags > Enable WebXR Related Features.
2.3 🔎 Test environment
This step is to verify that the environment is installed correctly.
-
Download Isaac Gym: https://developer.nvidia.com/isaac-gym/download
Extracting to the current directory, go to the
IsaacGym_Preview_4_Package/isaacgym/pythondirectory and execute the command:(tv) unitree@Host:~/IsaacGym_Preview_4_Package/isaacgym/python$ pip install -e . -
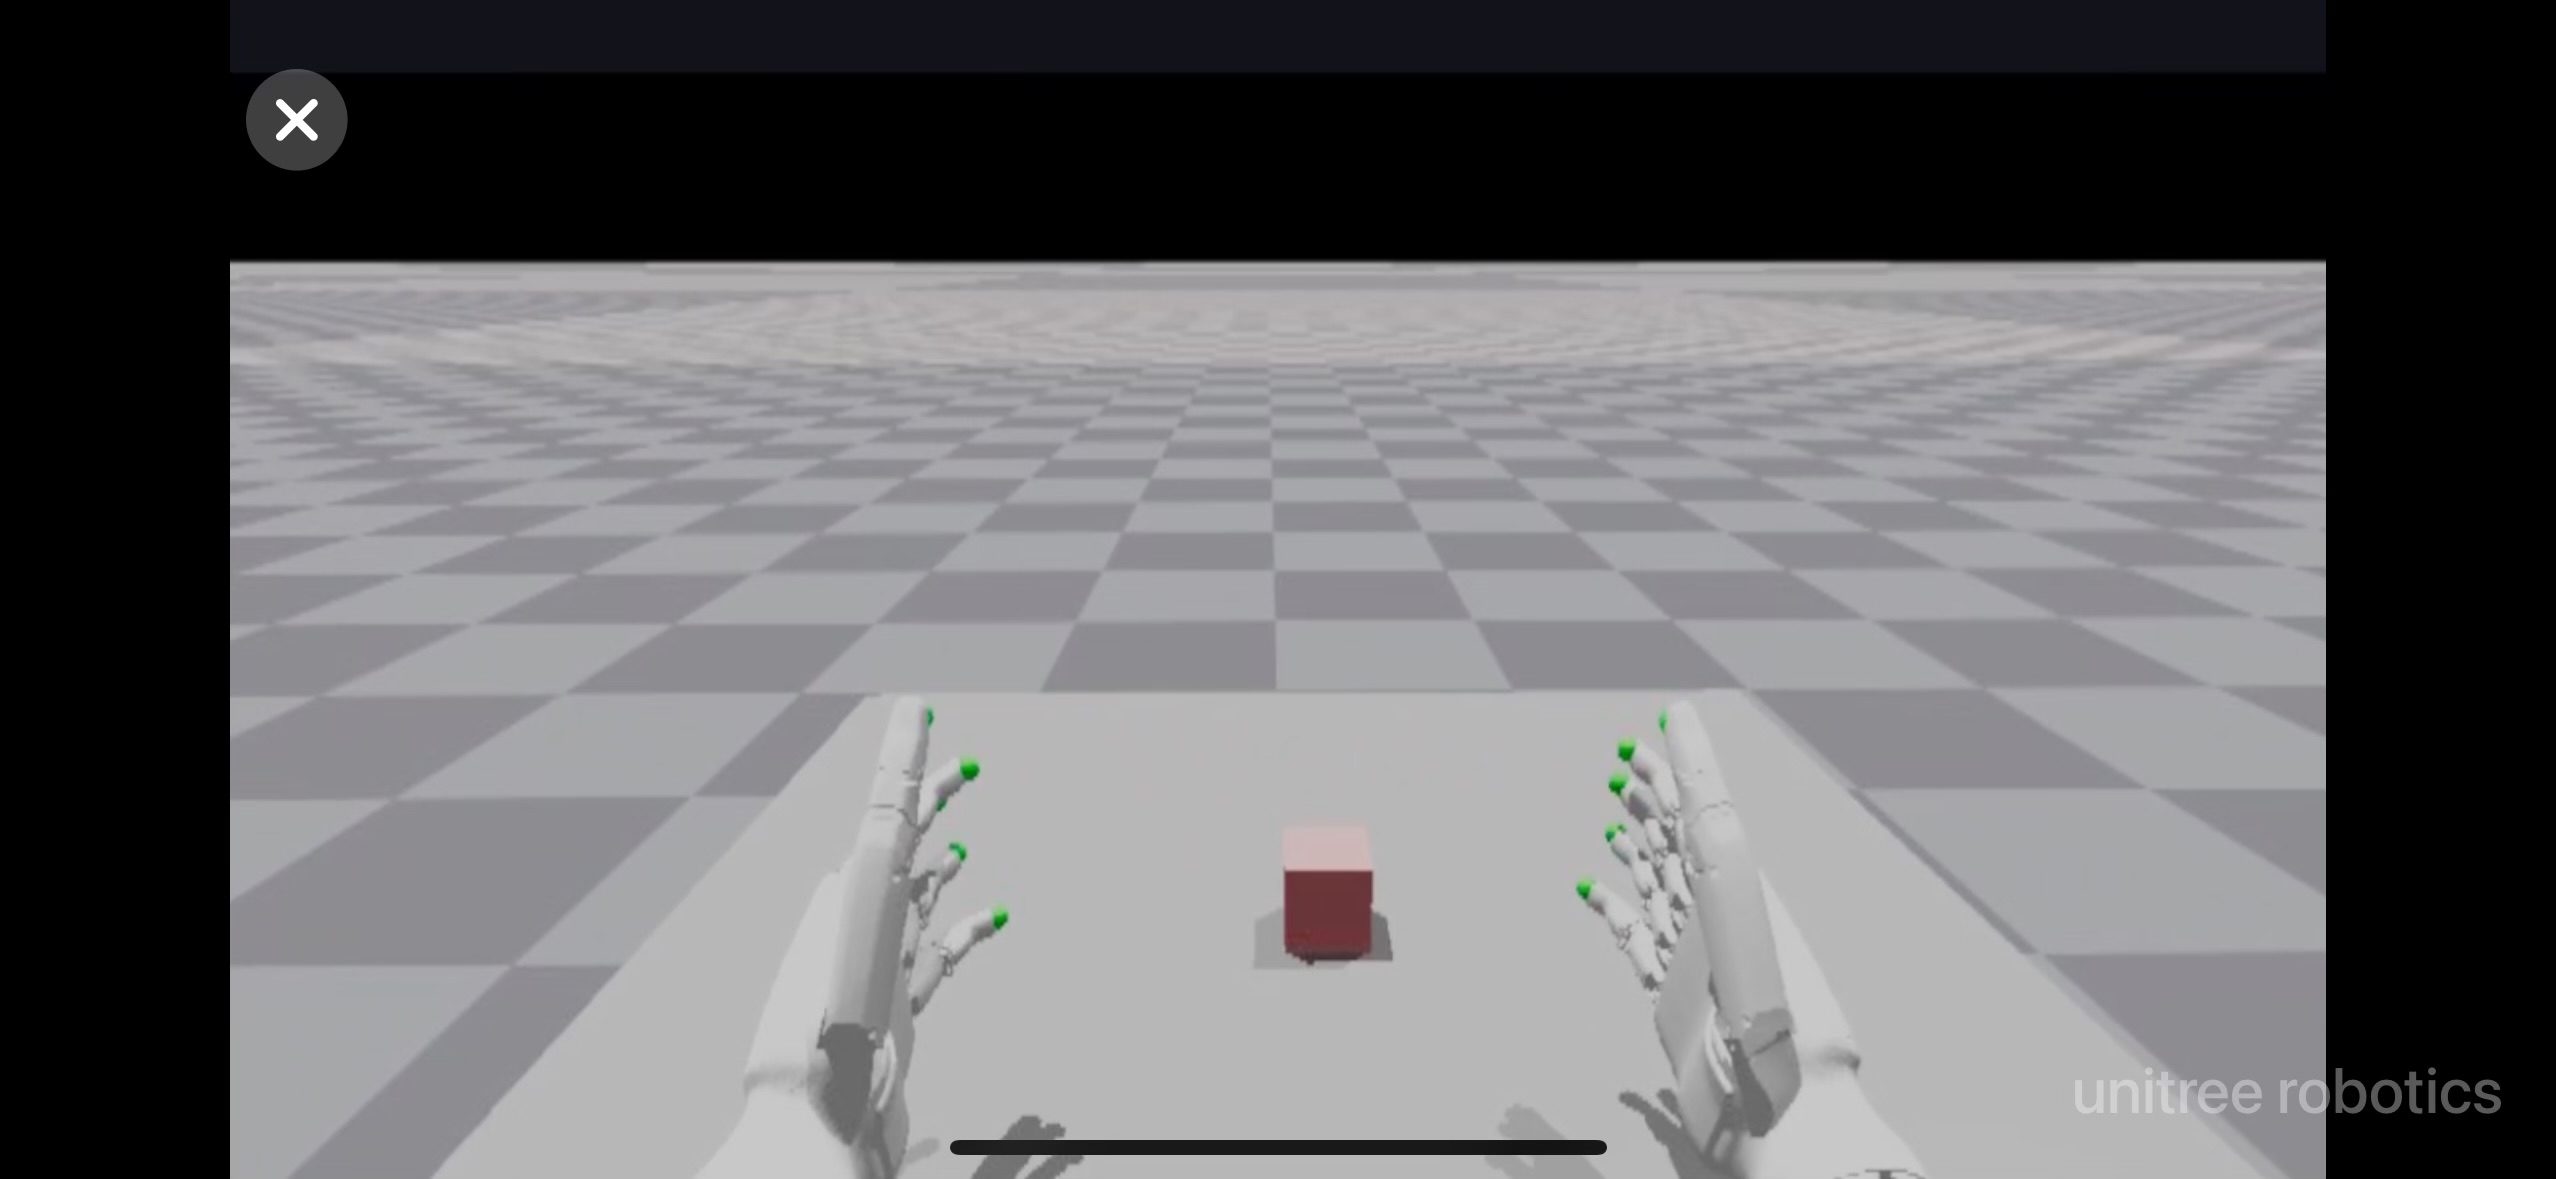
After setup up streaming with local following the above instructions, you can try teleoperating two robot hands in Issac Gym:
(tv) unitree@Host:~/avp_teleoperate$ cd teleop (tv) unitree@Host:~/avp_teleoperate/teleop$ python teleop_test_gym.py -
Wear your Apple Vision Pro device.
-
Open Safari on Apple Vision Pro and visit: https://192.168.123.2:8012?ws=wss://192.168.123.2:8012
p.s. This IP address should match the IP address of your Host machine.
-
Click
Enter VRandAllowto start the VR session. -
See your hands in 3D!
3. 🚀 Usage
Please read the Official Documentation at least once before starting this program.
3.1 🖼️ Image Server
Copy image_server.py in the avp_teleoperate/teleop/image_server directory to the Development Computing Unit PC2 of Unitree Robot (G1/H1/H1_2/etc.), and execute the following command in the PC2:
# p.s.1 You can transfer image_server.py to PC2 via the scp command and then use ssh to remotely login to PC2 to execute it.
# p.s.2 The image transfer program is currently configured for binocular rgb cameras.

# Now located in Unitree Robot PC2 terminal
unitree@PC2:~/image_server$ python image_server.py
# You can see the terminal output as follows:
# Image server has started, waiting for client connections...
# Image Resolution: width is 640, height is 480
After image service is started, you can use image_client.py in the Host terminal to test whether the communication is successful:
(tv) unitree@Host:~/avp_teleoperate/teleop/image_server$ python image_client.py
3.2 ✋ Inspire hands Server (optional)
Note: If the selected robot configuration does not use the Inspire dexterous hand, please ignore this section.
You can refer to Dexterous Hand Development to configure related environments and compile control programs. First, use this URL to download the dexterous hand control interface program. Copy it to PC2 of Unitree robots.
On Unitree robot's PC2, execute command:
unitree@PC2:~$ sudo apt install libboost-all-dev libspdlog-dev
# Build project
unitree@PC2:~$ cd h1_inspire_service & mkdir build & cd build
unitree@PC2:~/h1_inspire_service/build$ cmake .. -DCMAKE_BUILD_TYPE=Release
unitree@PC2:~/h1_inspire_service/build$ make
# Terminal 1. Run h1 inspire hand service
unitree@PC2:~/h1_inspire_service/build$ sudo ./inspire_hand -s /dev/ttyUSB0
# Terminal 2. Run example
unitree@PC2:~/h1_inspire_service/build$ ./h1_hand_example
If two hands open and close continuously, it indicates success. Once successful, close the ./h1_hand_example program in Terminal 2.
3.3 🚀 Start
Everyone must keep a safe distance from the robot to prevent any potential danger!
Please make sure to read the Official Documentation at least once before running this program.
Always make sure that the robot has entered debug mode (L2+R2) to stop the motion control program, this will avoid potential command conflict problems.
It's best to have two operators to run this program, referred to as Operator A and Operator B.
Now, Operator B execute the following command on Host machine :
(tv) unitree@Host:~/avp_teleoperate/teleop$ python teleop_hand_and_arm.py --record
And then, Operator A
-
Wear your Apple Vision Pro device.
-
Open Safari on Apple Vision Pro and visit : https://192.168.123.2:8012?ws=wss://192.168.123.2:8012
p.s. This IP address should match the IP address of your Host machine.
-
Click
Enter VRandAllowto start the VR session.
When host terminal outputs "Please enter the start signal (enter 'r' to start the subsequent program):", Operator B can start teleoperation program by pressing the r key in the terminal.
At this time, Operator A can remotely control the robot's arms and dexterous hands.
Next, Operator B can press s key to begin recording data in the 'record image' window that opens, and press s again to stop. This can be repeated as necessary.
p.s. Recorded data is stored in
avp_teleoperate/teleop/databy default, with usage instructions at this repo: unitree_IL_lerobot.
3.4 🔚 Exit
To exit the program, Operator B can press the q key in the 'record image' window.
To avoid damaging the robot, it's best to ensure that Operator A positions the robot's arms in a naturally lowered or appropriate position before Operator B presses q to exit.
4. 🗺️ Codebase Tutorial
avp_teleoperate/
│
├── assets                    [Storage of robot URDF-related files]
│
├── teleop
│   ├── image_server
│   │     ├── image_client.py [Used to receive image data from the robot image server]
│   │     ├── image_server.py [Capture images from cameras and send via network (Running on robot's on-board computer)]
│   │
│   ├── open_television
│   │      ├── television.py    [Using Vuer to capture wrist and hand data from apple vision pro]
│   │      ├── tv_wrapper.py    [Post-processing of captured data]
│   │
│   ├── robot_control
│   │      ├── robot_arm_ik.py        [Inverse kinematics of the arm]
│   │      ├── robot_arm.py           [Control dual arm joints and lock the others]
│   │      ├── robot_hand_inspire.py  [Control inspire hand joints]
│   │      ├── robot_hand_unitree.py  [Control unitree hand joints]
│   │
│   ├── utils
│   │      ├── episode_writer.py          [Used to record data for imitation learning]
│   │      ├── mat_tool.py                [Some small math tools]
│   │      ├── weighted_moving_filter.py  [For filtering joint data]
│   │
│   │──teleop_hand_and_arm.py   [Startup execution code for teleoperation]
|   |——teleop_test_gym.py       [Can be used to verify that the environment is installed correctly]
5. 🙏 Acknowledgement
This code builds upon following open-source code-bases. Please visit the URLs to see the respective LICENSES:
- https://github.com/OpenTeleVision/TeleVision
- https://github.com/dexsuite/dex-retargeting
- https://github.com/vuer-ai/vuer
- https://github.com/stack-of-tasks/pinocchio
- https://github.com/casadi/casadi
- https://github.com/meshcat-dev/meshcat-python
- https://github.com/zeromq/pyzmq
- https://github.com/unitreerobotics/unitree_dds_wrapper
- https://github.com/tonyzhaozh/act
- https://github.com/facebookresearch/detr
- https://github.com/Dingry/BunnyVisionPro